


Rice cooking shouldn’t be rocket science, but somehow it feels that way sometimes. Burnt rice stuck to the bottom, mushy grains that look more like porridge, or that weird sticky mess that won’t separate properly. Most of us have been there. The good news? Getting perfect results with aroma rice cooker instructions is way easier than you think.
Rice cookers work because they’re basically smart thermostats with pots attached. Water boils at 212°F, right? Once all that water gets absorbed or steamed away, the temperature shoots up fast. That’s when your cooker knows to stop cooking and switch to keeping things warm.
How These Machines Actually Work
The magic happens inside that aluminum pot. There’s a sensor underneath that watches the temperature like a hawk. As long as water’s hanging around, temperature stays put at 212°F. But the second that water’s gone boom heat spikes up and the sensor flips the switch.
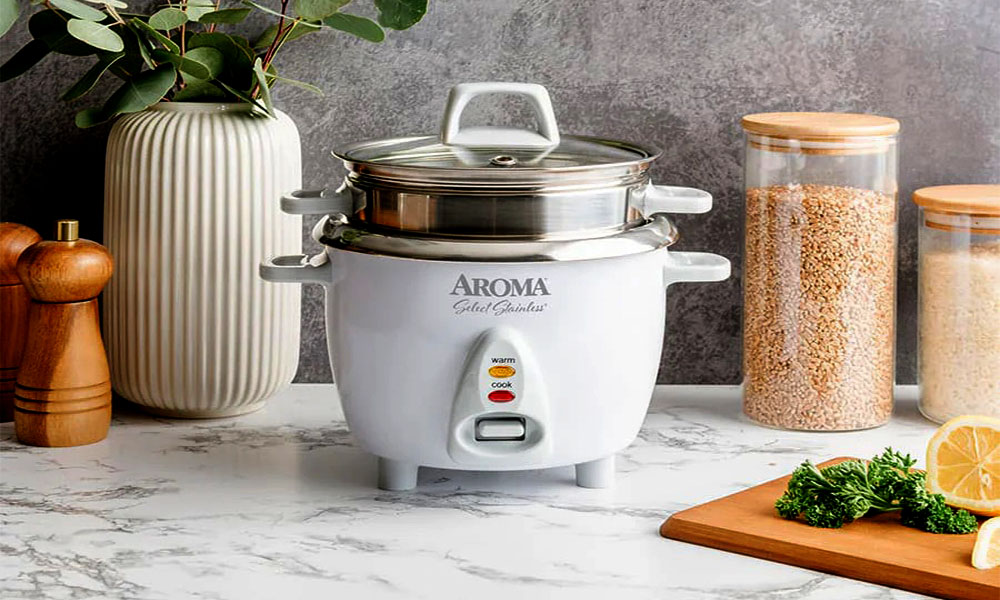
Most Aroma models keep things simple. You get the inner pot with those handy measurement lines, a lid that fits tight, and maybe a steam basket if you’re lucky. Some have fancy digital displays, but honestly? The basic models work just as well.
That little measuring cup is smaller than standard measuring cups it’s roughly six ounces instead of eight. Stick with using that cup for everything rice and water both. Makes the math way simpler.
Setting Things Up Right
Location matters. Don’t cram your cooker under cabinets or push it against walls. Steam needs room to escape, plus you want good airflow so condensation doesn’t drip everywhere.
Wash that inner pot before your first use. Factory residue tastes terrible and can make your rice weird. Also check that the bottom sits completely flat on the heating plate. Even tiny rice bits stuck underneath can create hot spots.
Basic Aroma Rice Cooker Instructions for Setup
Rinse your rice every single time. Doesn’t matter what type. Fill, swish around, dump the cloudy water, repeat until it runs mostly clear. Takes maybe 4-5 rounds but saves you from gummy rice disasters.
Check that the inner pot sits flush. No wobbling, no tilting. The heating element needs perfect contact or you’ll get uneven cooking.
Water Amounts That Work
Forget complicated ratios you need a calculator for. Use the cup that came with your machine for both rice and water. Simple.
Long grain rice like jasmine or basmati? Use one cup rice with 1.25 cups water. Works every time.
Medium grain rice gets a bit more liquid try one cup rice with roughly one and one-third cups water.
Short grain rice is thirsty stuff. One cup rice to one and a half cups water keeps it from getting mushy.
Brown Rice is Different
Brown rice has that bran layer that slows everything down. One cup rice needs almost two cups water. Yeah, seems like a lot. But that bran takes forever to soften up.
Cooking time stretches to nearly an hour too. Don’t peek under the lid or you’ll mess up the timing.
Complete Aroma Rice Cooker Instructions for Cooking
Measure your rice, rinse it good, dump it in the pot and spread it around evenly. Add water based on what type you’re cooking.
Here’s something most people miss wipe down the outside of that inner pot before you put it in the cooker. Water drops cause sputtering and can mess with the heating.
Double-check that everything’s positioned properly, secure the lid firmly, then press the start switch. Most Aroma cookers just have a simple switch that lights up when it’s working.
Walk away. Seriously. Every time you lift that lid, steam escapes and the temperature drops. Let the machine do its thing.
The Waiting Game
First 15 minutes you’ll hear bubbling and gurgling. That’s normal. The noise dies down as rice absorbs the liquid. Once it switches to keep-warm mode, everything goes silent.
Now here’s the hard part wait another 10-15 minutes without touching anything. Rice is still cooking with leftover steam and heat. This pause gives you individual, non-sticky grains.
Opening Up and Fluffing
Lift the lid at an angle pointing away from your body when opening. Steam burns hurt more than you’d expect.
Use the plastic paddle that came with your cooker. Metal spoons can scratch up the coating. Begin at the outer edges and move inward, gently turning the rice with light folding motions.
Don’t stir it like cake batter. Rice grains are delicate after cooking. Gentle movements separate them without turning everything to mush.
Fixing Common Problems
Gummy, sticky rice usually means too much water or you didn’t rinse enough. Try cutting back water by a tablespoon next time and rinse until the water’s actually clear.
Dry, crunchy rice means not enough water. Add an extra tablespoon per cup and make sure you’re not lifting the lid during cooking.
Burnt bottom? Check that the inner pot sits properly and you’re using the right water amounts. Also make sure there’s no junk stuck to the heating plate.
Beyond Just Rice
These cookers handle quinoa, steel-cut oats, even bulgur wheat with similar water ratios. The steam basket lets you cook vegetables while your rice cooks underneath.
Many people substitute chicken stock for water to boost taste. Others throw in herbs, garlic, or spices before starting the cooking cycle.
Getting the Most From Your Cooker
Clean the inner pot right after eating. Stuck-on rice gets harder to remove if you wait. The heating plate needs occasional wiping too food particles can cause hot spots.
Store your measuring cup with the cooker so it doesn’t wander off. Those cups are sized specifically for the water ratios to work right.
Keep the lid clean and check that the seal sits properly. Steam leaks mess up cooking times and can leave rice undercooked.
Conclusion
Perfect rice boils down to measuring right, being patient, and letting your cooker work without interference. The machine handles temperature control and timing automatically. Your part is easy measure accurately, don’t peek during cooking, and give the rice time to rest before serving. Follow these aroma rice cooker instructions consistently and you’ll get restaurant-quality rice at home without the guesswork or stress.


